I sent the civic yesterday for a repaint since the paint is already dead. The target completion is 1 month if not hindred by the weather condition. The scope of the work are as below:
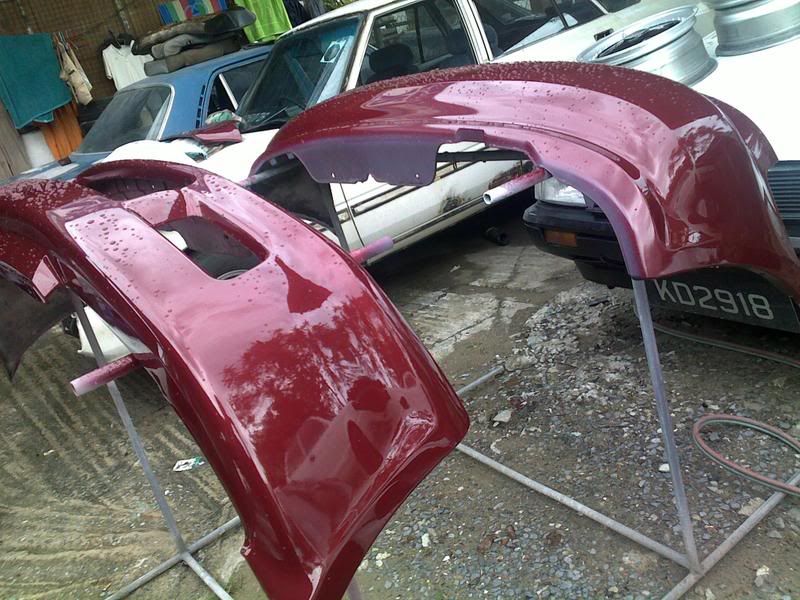
1- Burgundy Pearl Paint
2- Sand down original paint
3- Rust Removal and weld job.
4- Installation fee of parts that needs replacing.
5- Undercarriage coating
Price: BND$1,500 with 1 full year warranty on paint.
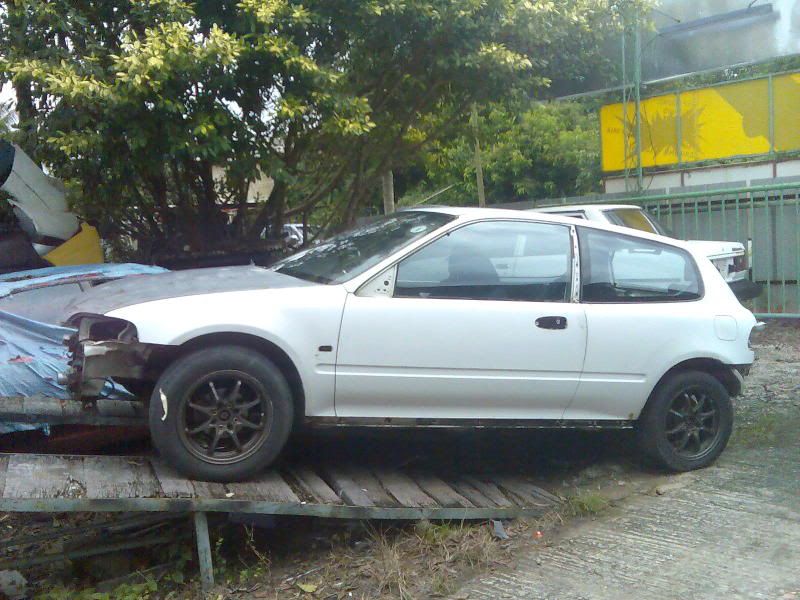
Before Picture
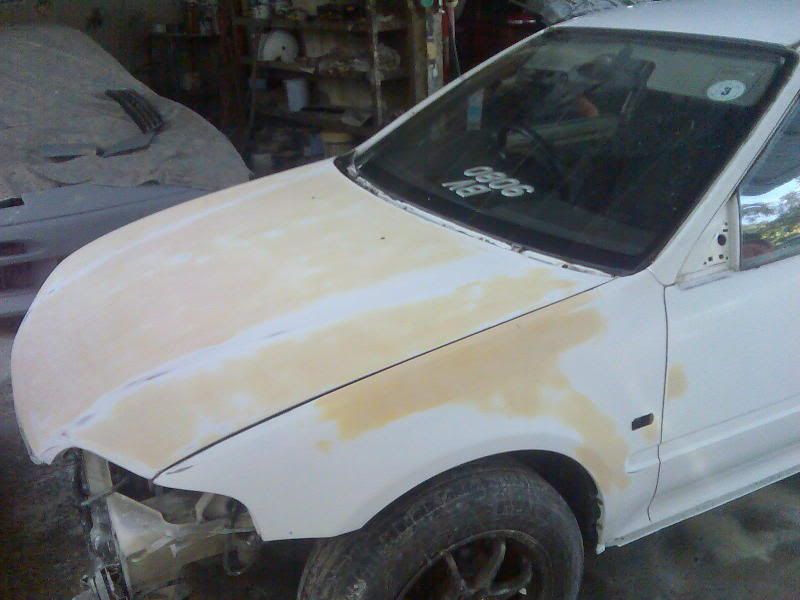
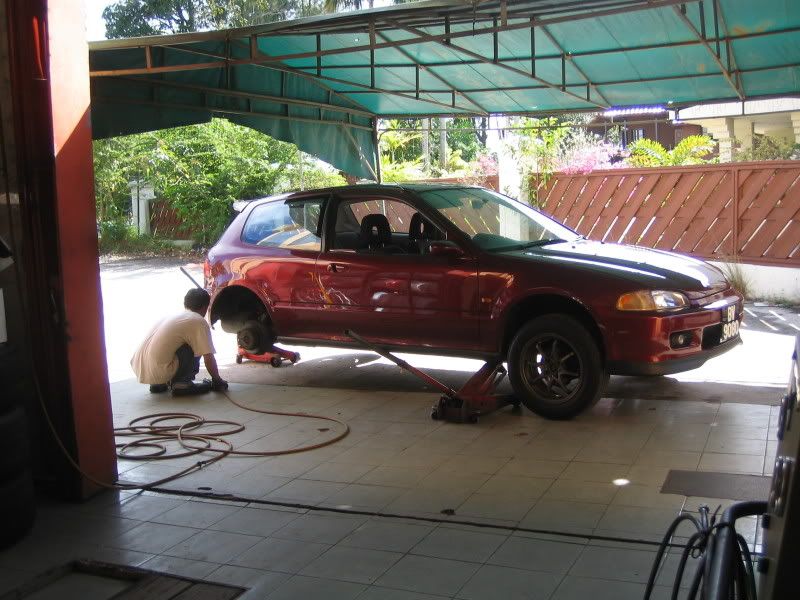
Here's the process...

 The paintjob basically took almost 2 months to be completed. The workshop did an ok job but was pretty slow, I gave them ample time and 3 weeks, the car had no progress apart from the pictures posted. Then things started picking up after a serious discussion with the shop owner.
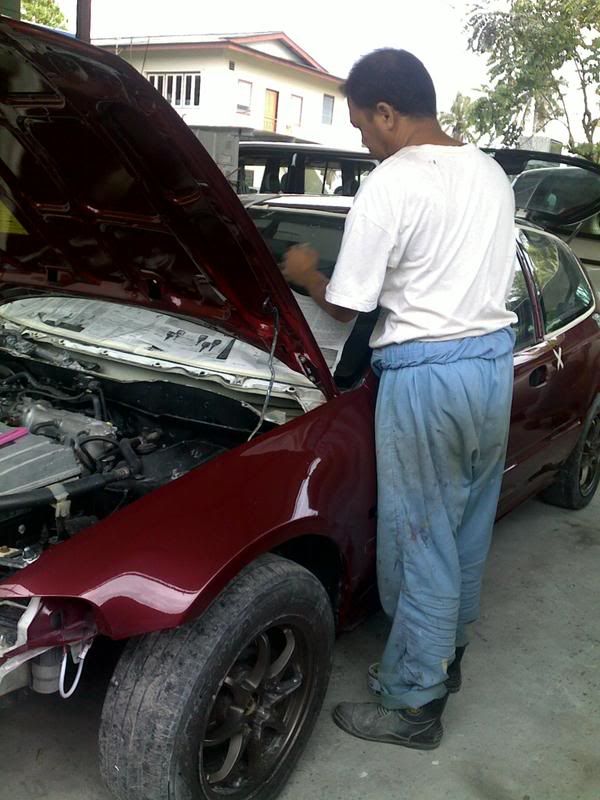
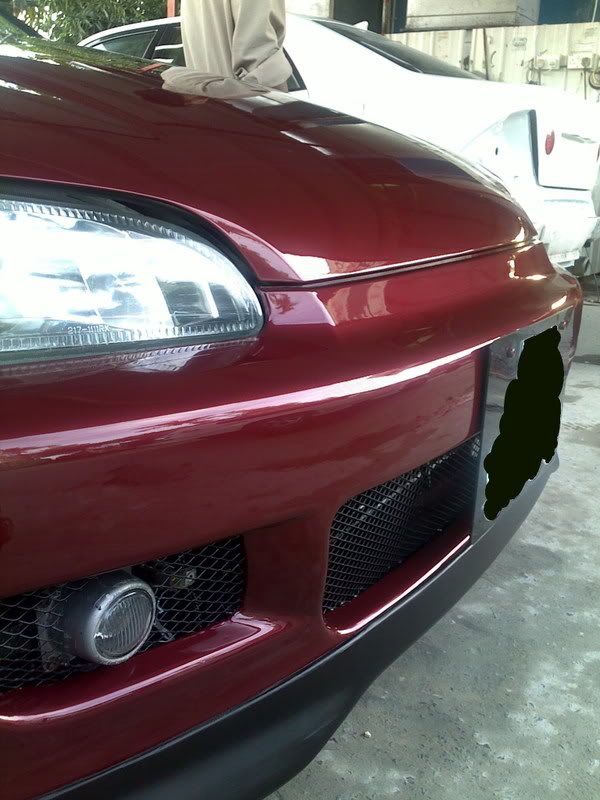
 So after 2 months of waiting, the car got its first compound polishing and here's the finished works. Its almost 99% satisfaction... a few things caught my attention which disappoints me but thats just me being too picky. And oh yeah, the car color isn't as planned, in fact the color that i chose was a bit darker than the plan but its ok. I can live with it hehe...
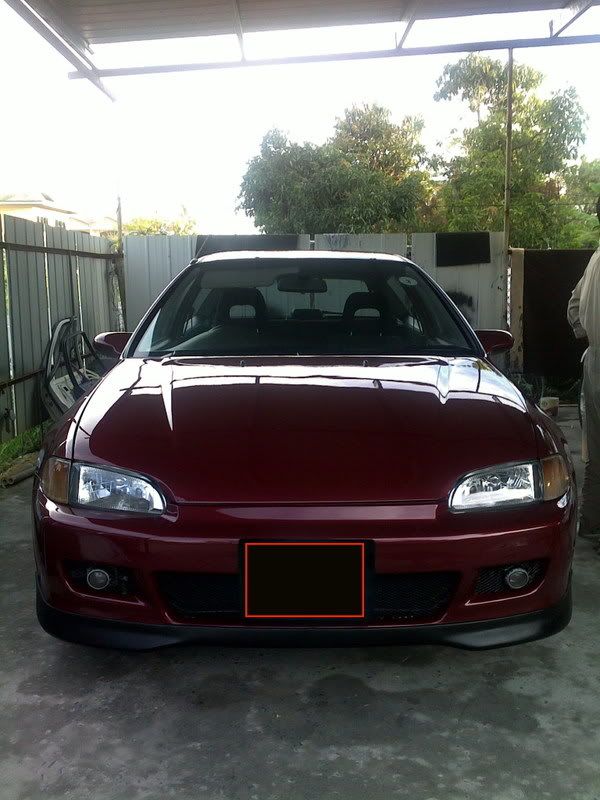
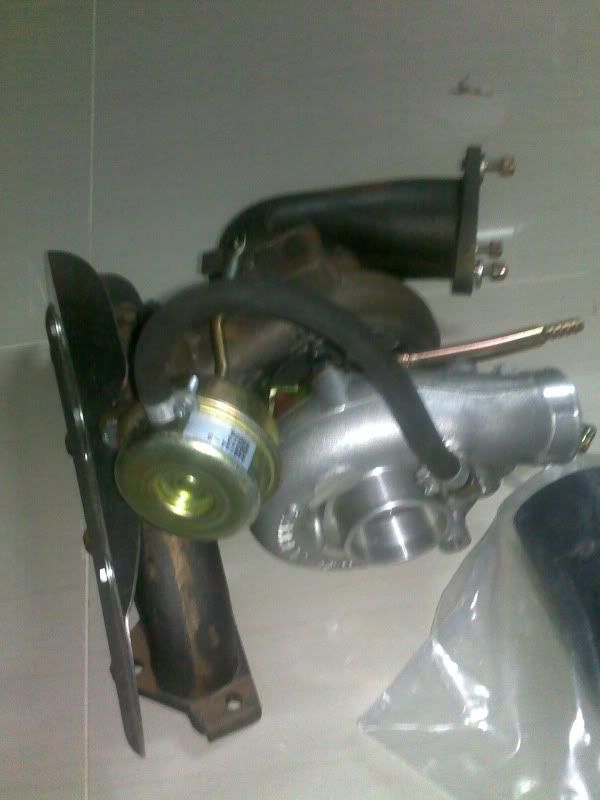
In the mean time, i started to order my AVO turbo kit from Sen Yeong. I'm one of the first to actually order a full turbo kit from AVO according to Sen Yeong and lets see how things goes from there.

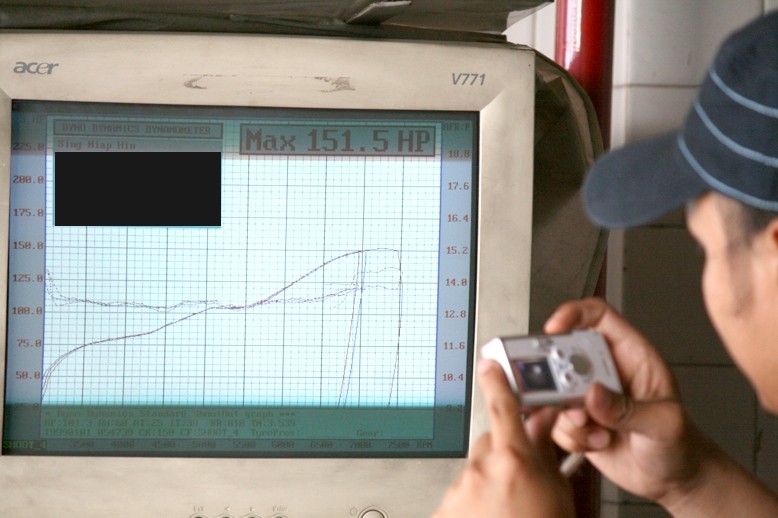
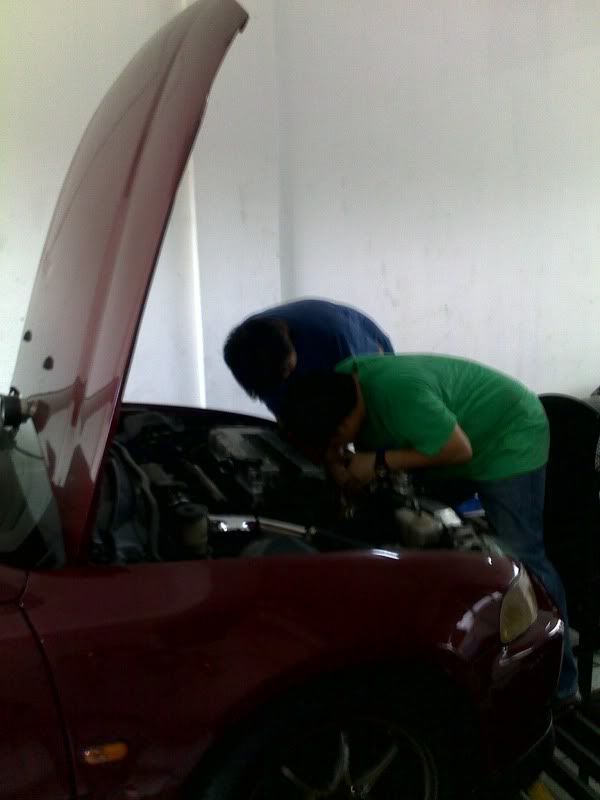
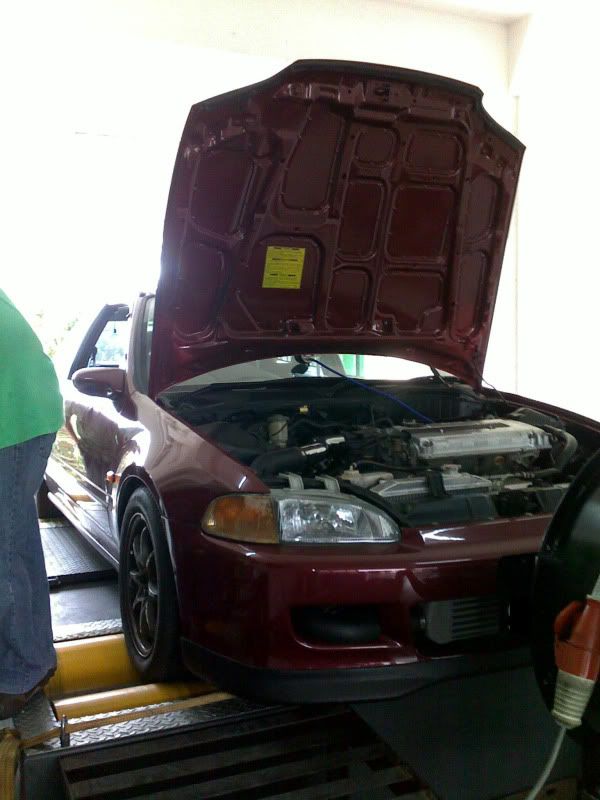
Received item early June 09. I had to send my car picture and engine bay picture to Sen Yeong to be forwarded to AVO Australia for analysis. So prior to finishing the paint job, i went to get a baseline power from Sing Hiap Hin Pro Shop dyno dynamics. I had in mind already that the car was gonna get around the 140+ to 150 hp region and yeah, i got 151 hp hehe.
Tyre change and brake system checks in Gadong area.
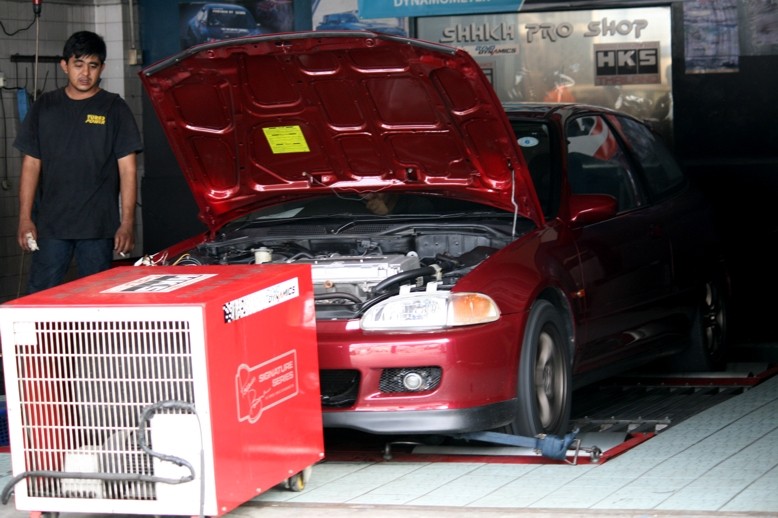
 Now dyno sessions: Thanks SleeperV for taking the pictures
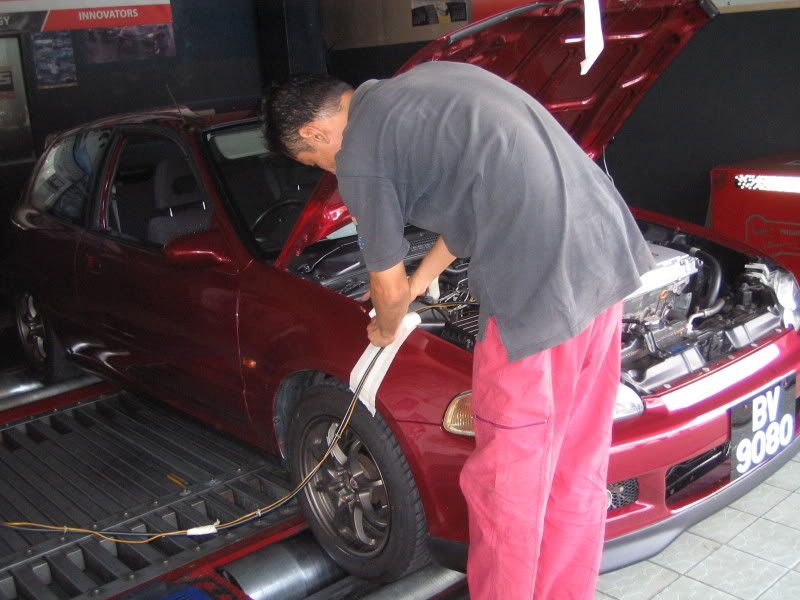
Current car mods are:
1- CTR camshafts in/ex
2- Type R valvetrains
3- Stock ports and intake + TB
4- Stock block b16a untouched.
5- Double clutch housing + spoon 4.4kg flywheel
6- Greddy 4-2-1 manifold
7- 2.25" midpipe to 1.75" muffler (stock civic carburettor muffler)... i knoww :)
All in all, i'm pretty pleased that the stock block with its current restriction is putting out that amount of power. I'd say with my sheepdog exhaust, there would be atleast 5hp increase over baseline. I will do it when i have time (which most of the time I don't).
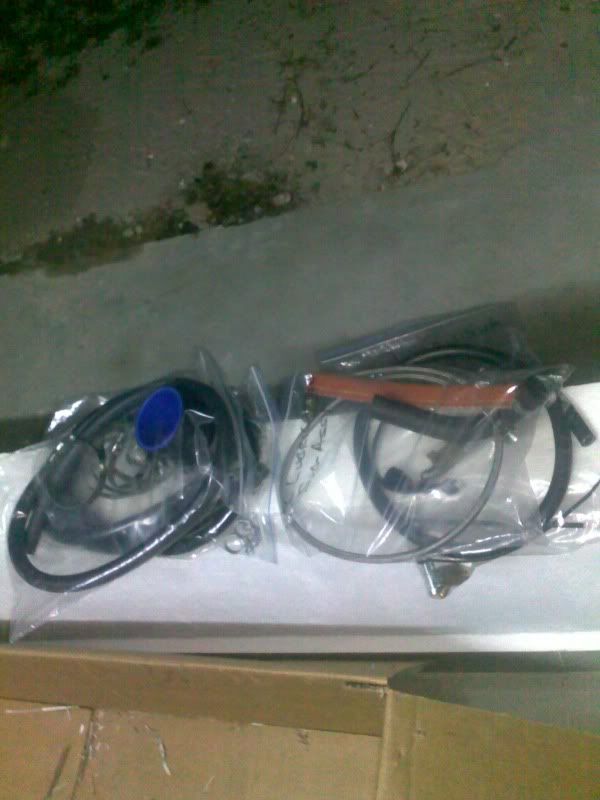
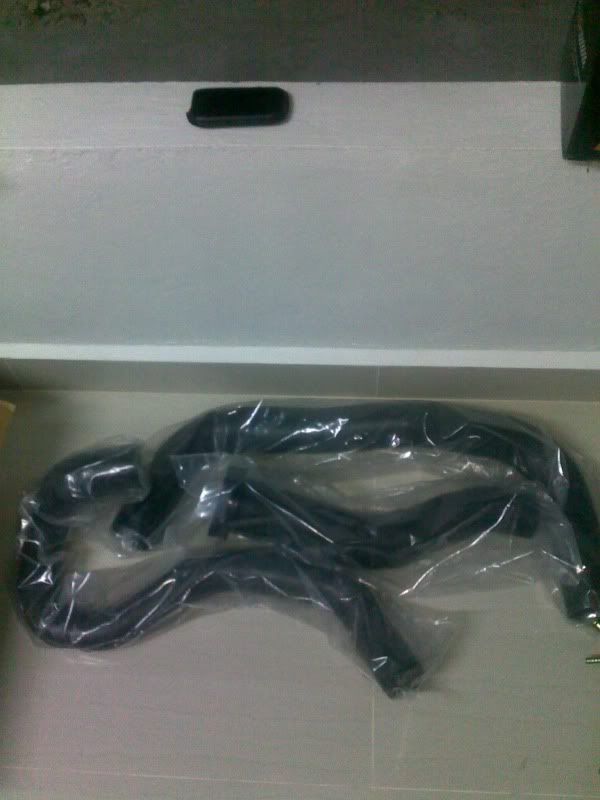
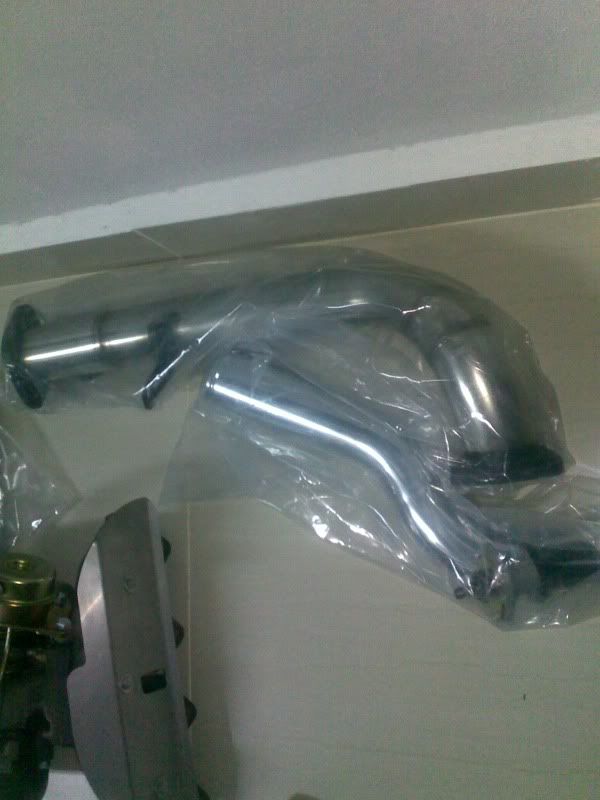
Turbo Kit arrived End of May 09.
Sorry for the late update. Its been a while and i've been busy.
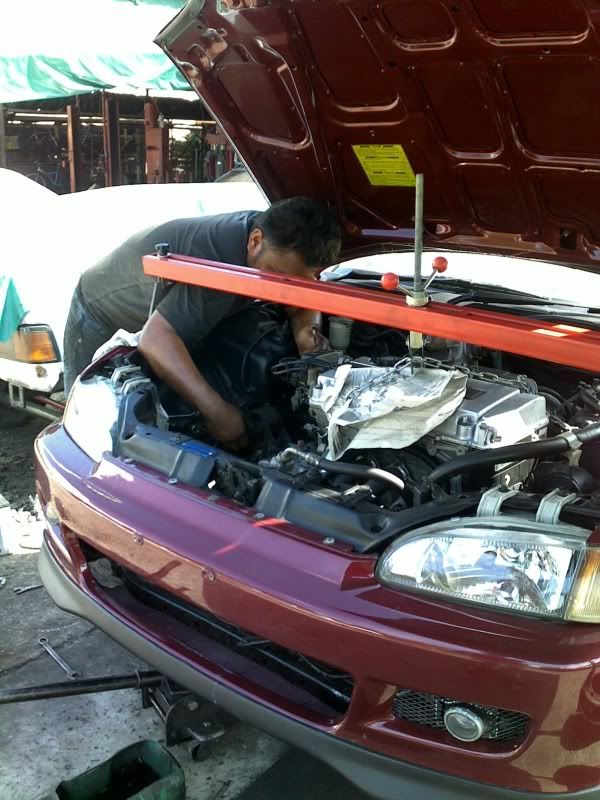
So as a continuation, I sent the car over to a friends workshop in Seria to install my turbo kit. The installation took roughly around 2 weeks to complete because as the kit was installed, i kept on adding stuffs to it. The labour charge for installation of the turbo kit was BND$250 but as things added up, it totalled to roughly $2,000.
So as a continuation, I sent the car over to a friends workshop in Seria to install my turbo kit. The installation took roughly around 2 weeks to complete because as the kit was installed, i kept on adding stuffs to it. The labour charge for installation of the turbo kit was BND$250 but as things added up, it totalled to roughly $2,000.
 The gearbox had to go out because i wanted to change to new stock lining.
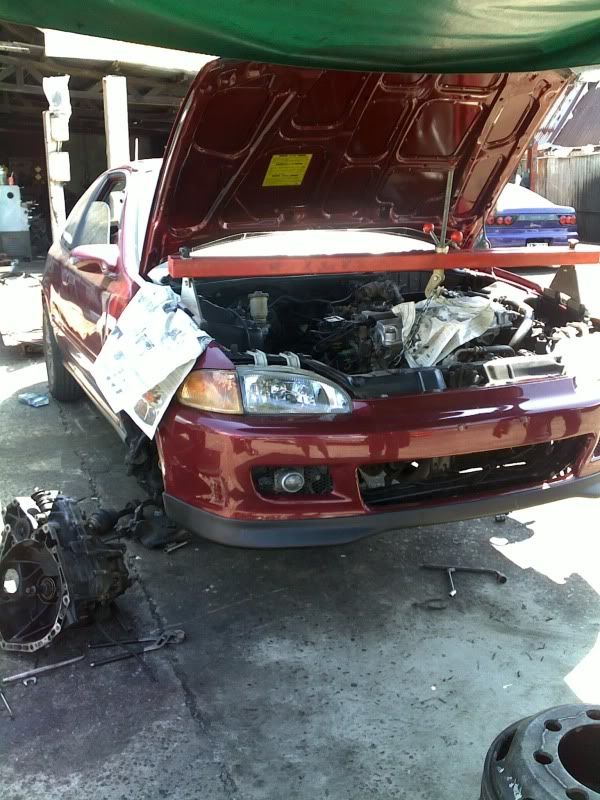
 I went and installed the SMT6 ecu which came with the turbo kit. It came with the wiring diagram so i just followed it. Basically it was a mess because even the wiring diagram had something wrong in it. I had to trace back and make my own wiring diagram. Installation took me around 3 days to figure out.
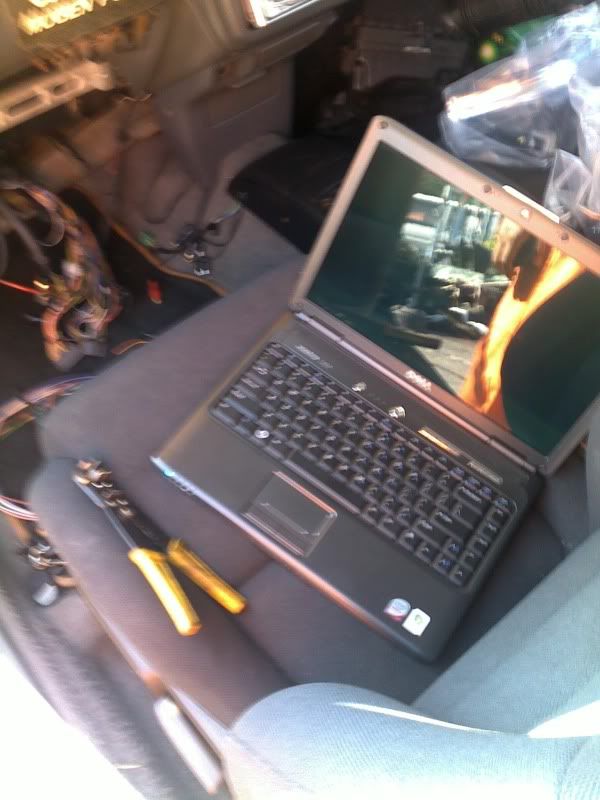
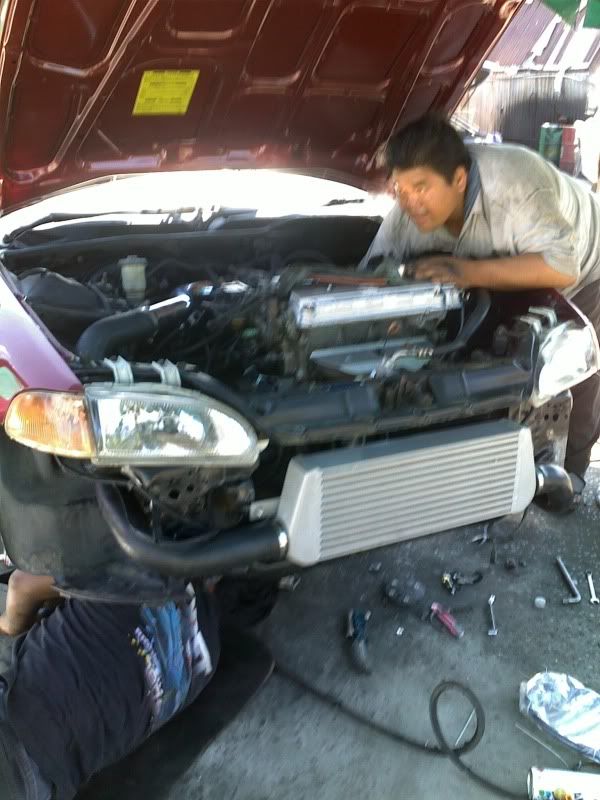
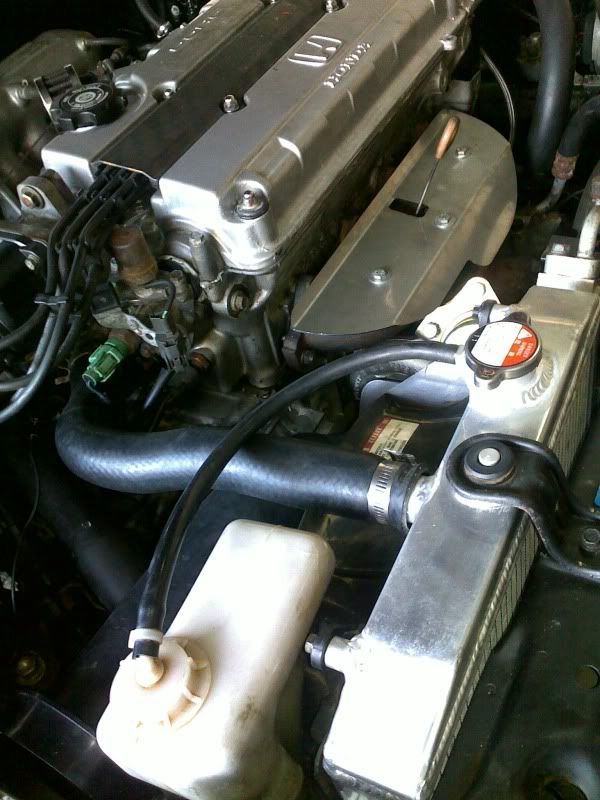
My new Aluminium radiator adds up to the shine :)
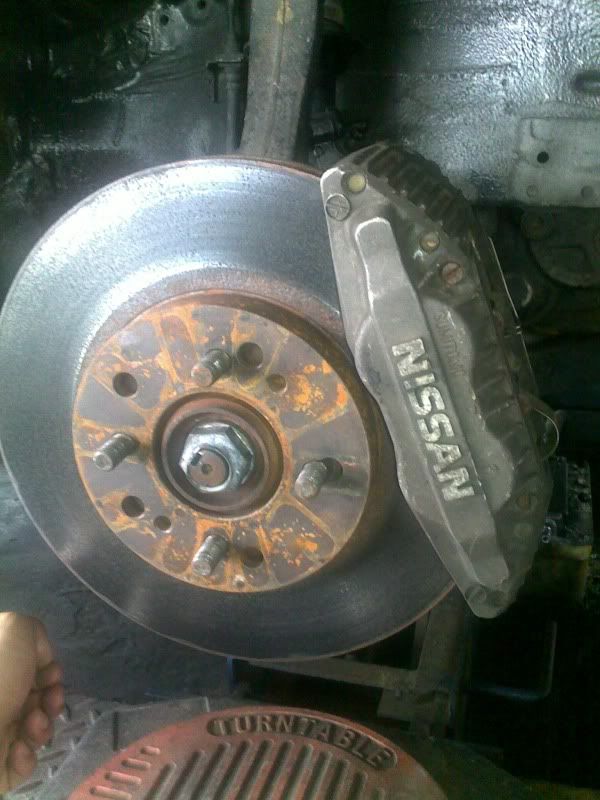
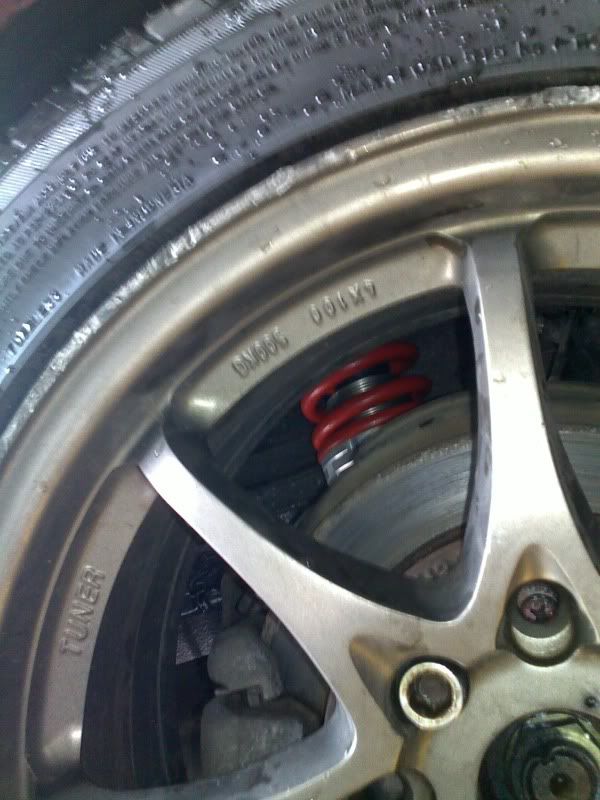
 To support the future added power. I had my friend sourced out a big brake kit and ended up with a used Skyline R32 4 pot brake caliper and rotor. Look at the difference of the rotor first, i'll post up picture of the caliper later hehe.
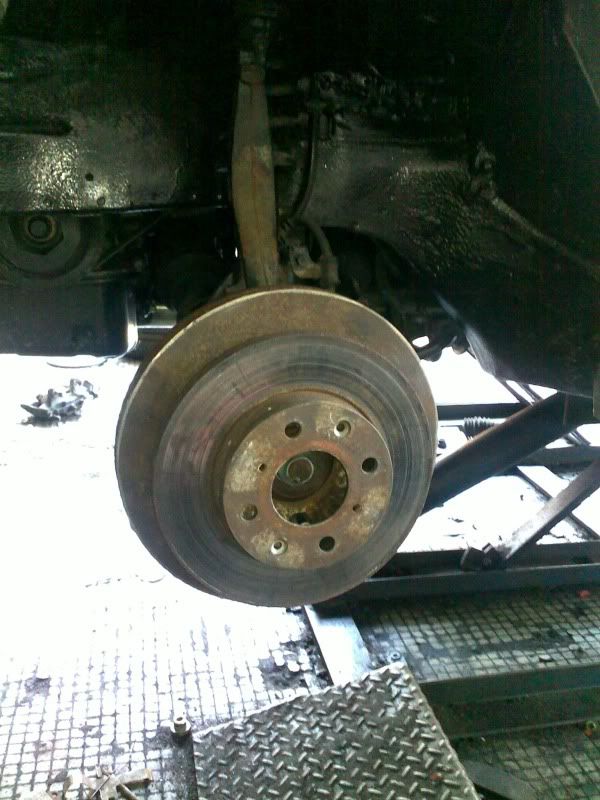
So after wiring up the SMT6 piggy back ecu. The car started fine with no problem and after it fully warmed up, i throttle it and can now hear the boost kicking in fast hehehe. I was really happy that it was successful. After switching off the engine for while, i tried to crank it up and it wouldn't. So i went back to the drawing board to check out what was wrong with it. I connected all the loose wires and the next day it cranked up with no problem.
Things were getting funny at that point. So in the end, i figured that the MAP sensor on a honda should not be cut at all to be connected to any piggy back. Splicing wouldn't be a problem though. I encountered the same issue when i installed my e-manage ultimate last time. So in the end i took off the SMT6 and ran on stock ecu all the way back home, keeping the throttle very light and increased fuel pressure to the max on my stock injectors. I did a couple of 40% throttle and it pulled like crazy hehehe but it definitely knocked a little after pressing more so i let off immediately afraid that i would blow my engine.
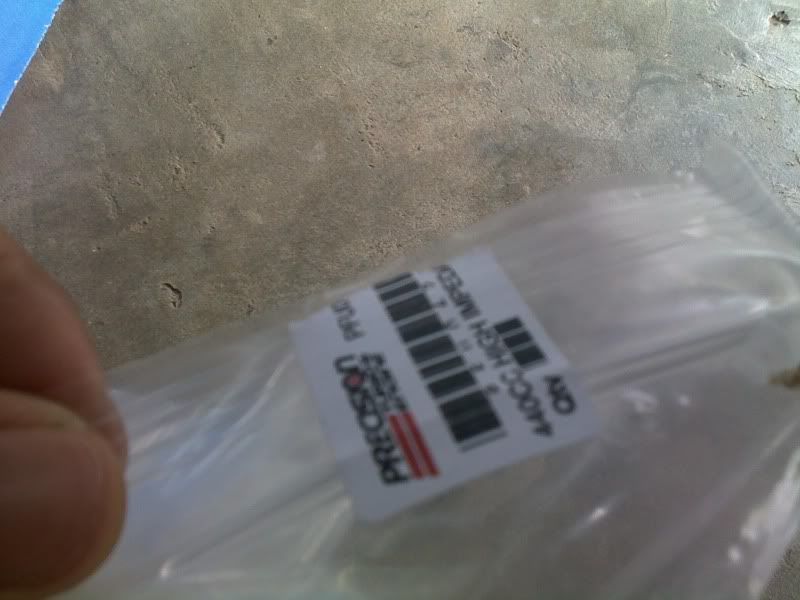
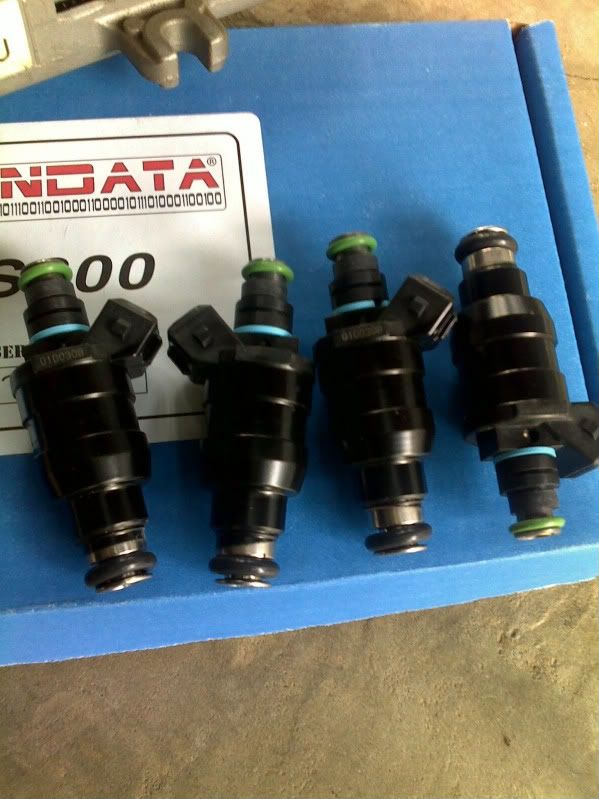
The following month, i ordered a set of 440cc precision injectors, RC engineering 440cc injectors (accidentally) and hondata S300 ecu.
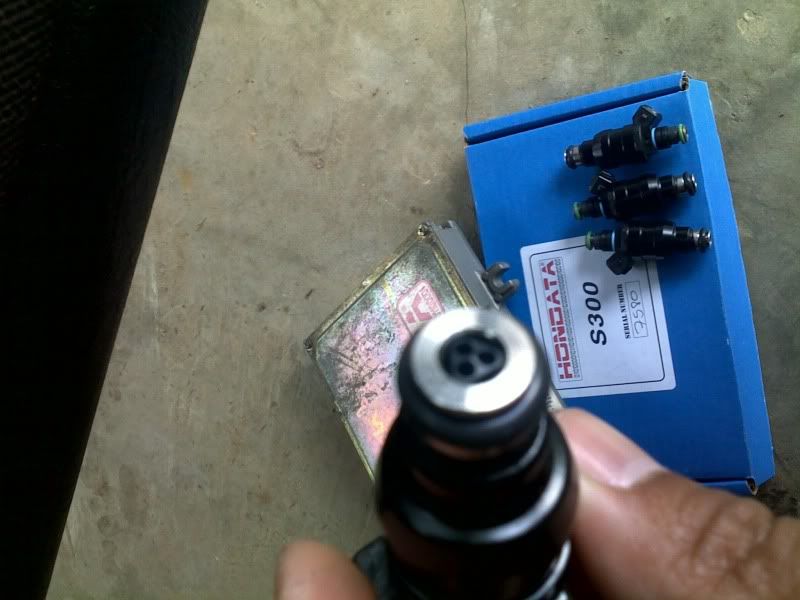
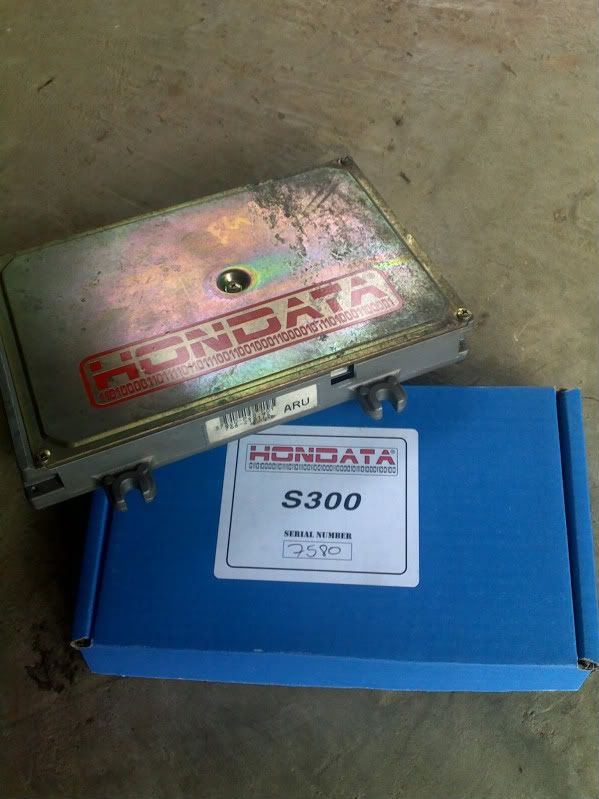
The beauty about the Hondata S300 ecu is the fact that when i plugged it in, the idle was FAR more better because the fuelling was better controlled with the basemap settings. I had a lumpy idle from 800-1000 rpm but after the ecu swap, it remained constant at 800rpm which was pretty amazing, even the AFR was showing around 14.2-14.7 constantly.
To make things even more interesting, I installed the Precision 440cc injectors and the idle was only slightly rich but nothing so bad. No problem whatsoever. I went for a test drive and the only problem i had was I was running without an FPR so the fuel pressure went down very fast when a suddenly throttle was introduced. The car pulled nicely all the way to 8000rpm and was not bad for a basemap.
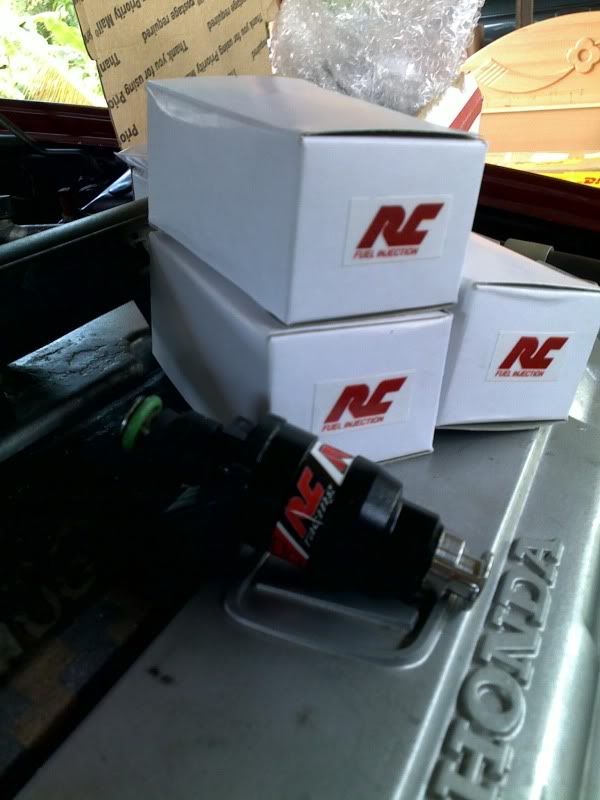
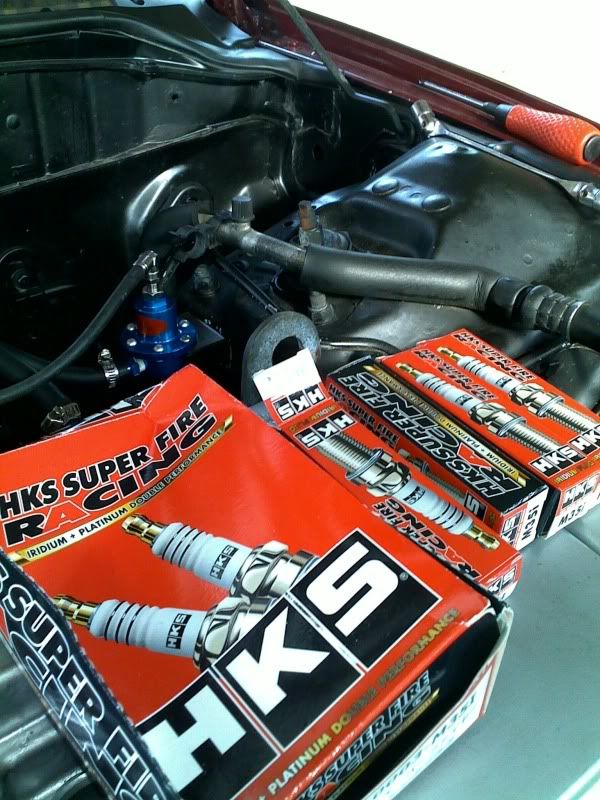
2 weeks later i went for adjustable fuel pressure regulator hunting and went through a couple of shops from a used set of FPR to a cheapo set of FPR. Bumped into HungTop enterprise and the price for a SARD fuel regulator was damn cheap and the skunk2 composite fuel rail was on offer. So i grabbed both set.
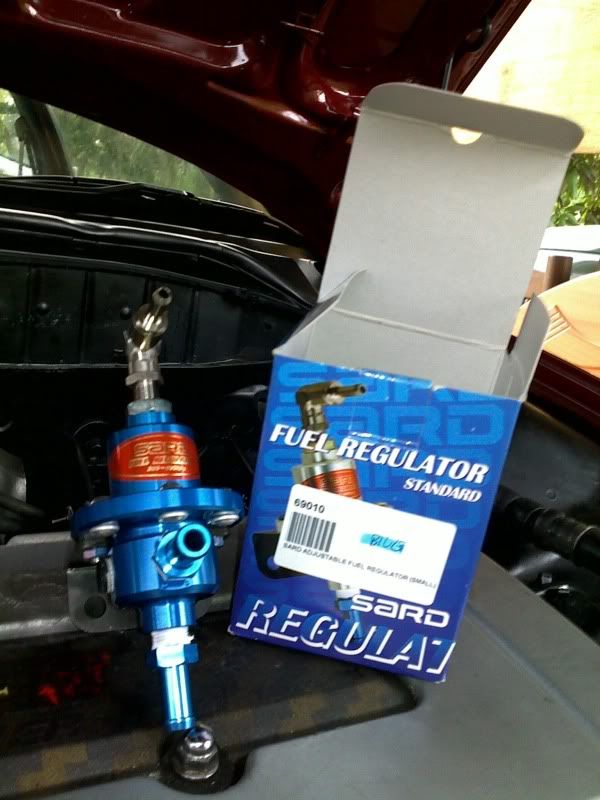

Here's the installation of the SARD FPR into my engine bay. Installation was straight forward, the only issue was the return line pipe was small and the FPR return line was bigger in diameter. So effective DIY has to take place hehe. It didn't leak for a few months after use hehe.
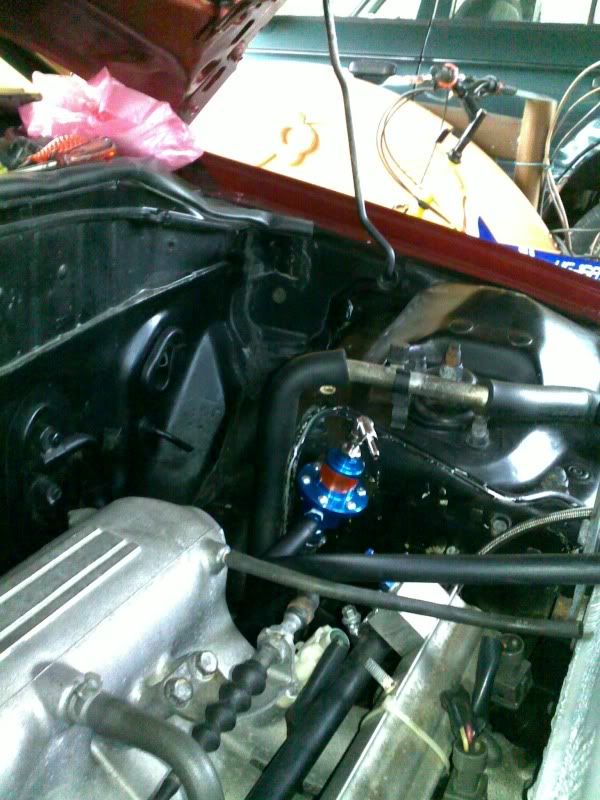

After installation of the SARD adjustable fuel regulator, my fuel pressure issue was solved and the pull was nice all through the RPM.
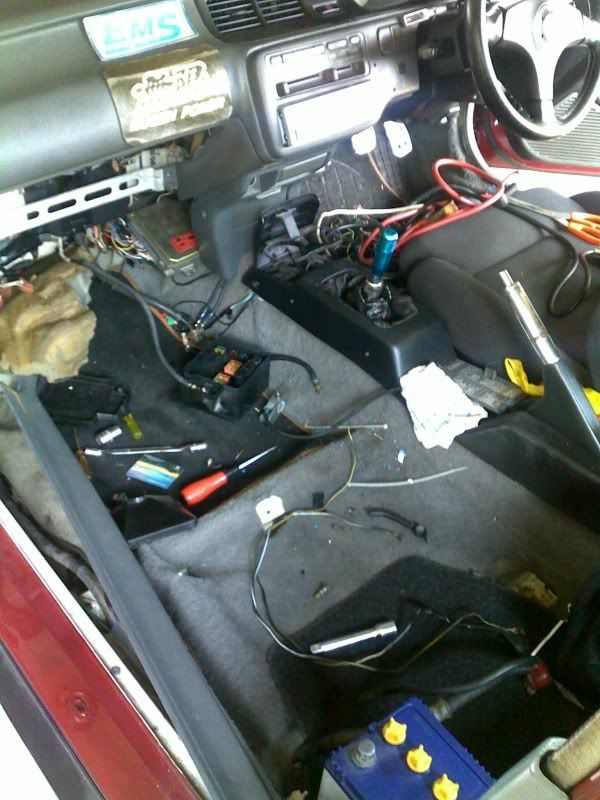
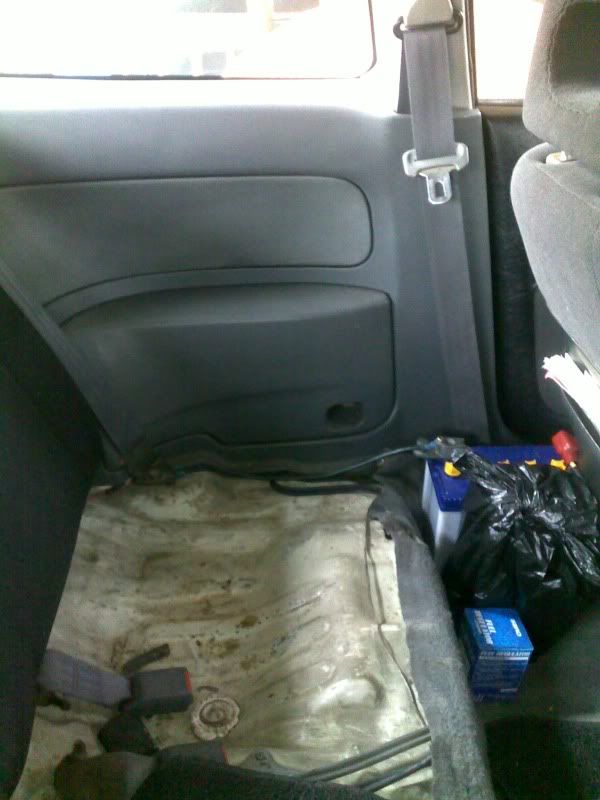
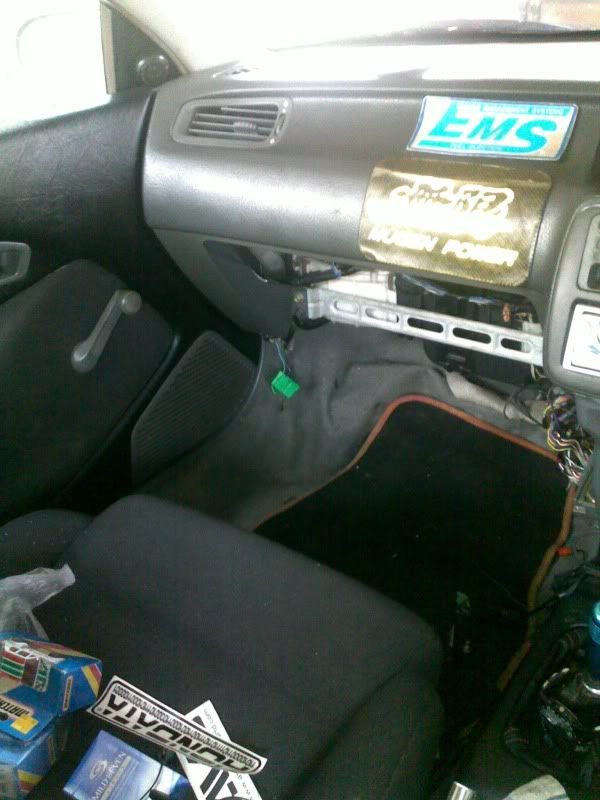
Tuning will be done on 25th August 2009 so i need to make sure the interior is not in a mess. So I'm wire tucking everything in the interior and relocating the battery to the back of the front passenger seat. I had to extend a couple of fuse cables, power cable and battery grounds. Here's the works:
"Onto the tuning day"
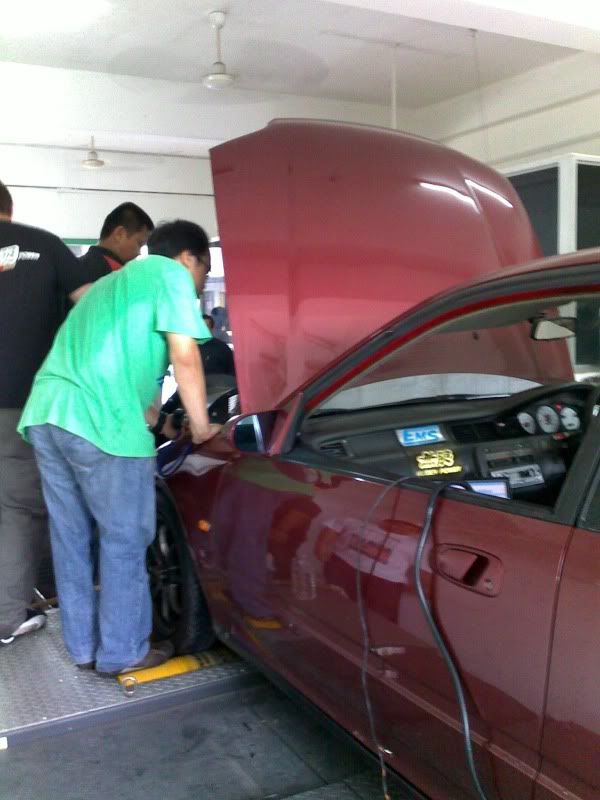
I arrived at Hayashi in the morning at 9.30am for my tuning appointment which has been a long wait. I decided to take the afternoon session since I decide to get a full check before hopping onto the dyno and got my skunk2 coilover sleeve set installed and get it lowered and also got a set of Falken 195/55/15 for the front tyres. Previously was running 195/65/15... yeah yeah i know its too big for the car but I was on a budget that time and got desperate.
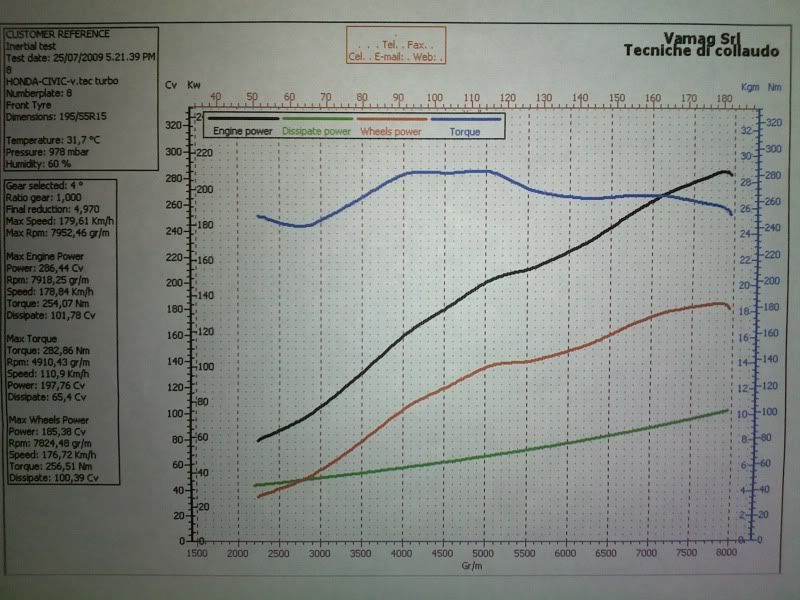
So the car hopped onto the dyno at 4pm. Joel the tuner from Hondata Singapore starting making his preparation for the tuning.
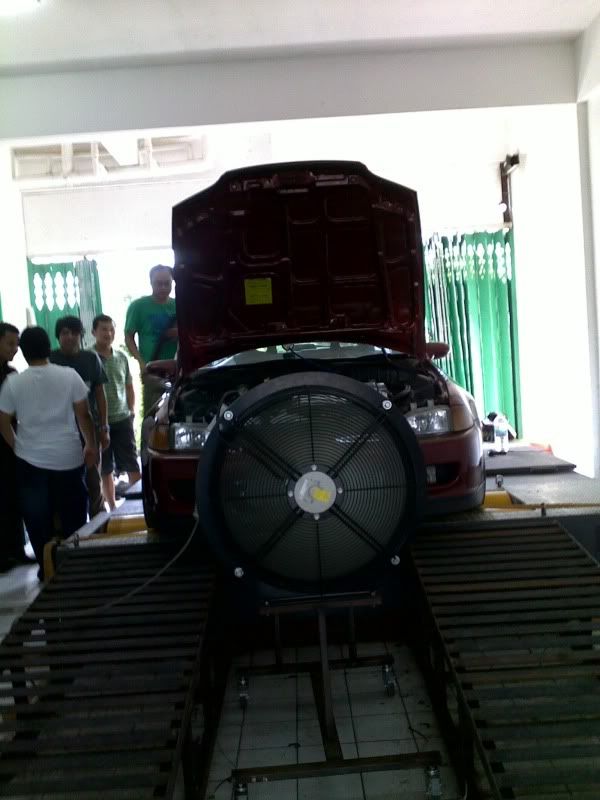
After an hour of clean up, the car made its first full tuned to 0.5bar pull and made 230whp. So Joel asked me how much do i want? All I said was up to you hehehe. So checked all parameters and then he adjusted the boost to 0.65bar and did a final tune on it.
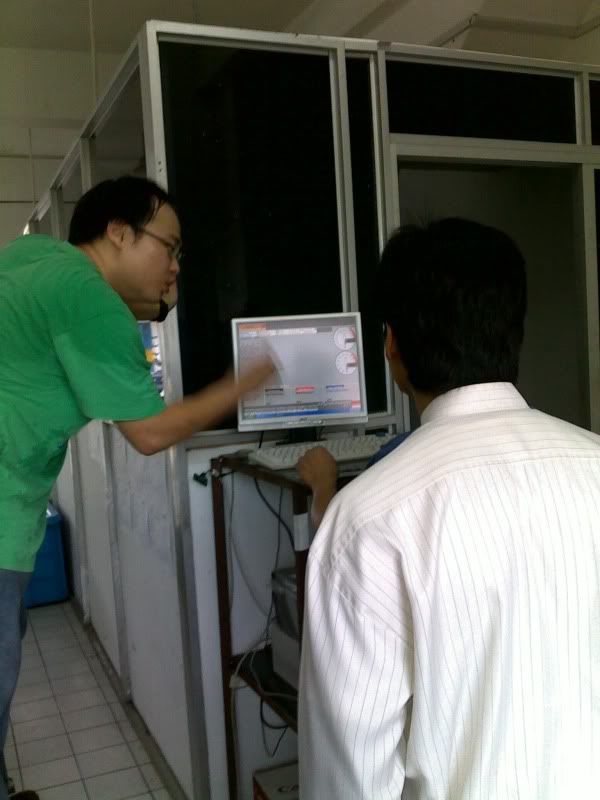 First pull dyno graph at 0.5bar.
Boost adjustment to 0.65bar
After a couple of tunes, the car made a final pull of 247whp at 0.65bar. I was more than a happy customer. Thats like easy 286hp on the flywheel. The car pulled nicely especially 4000rpm onwards to redline. No traction whatsoever from 1st gear to the 2nd.
I guess the car is up for sale. Car is yours for BND14k coz i'm not using it anymore. Car can be viewed in KB and you can contact me at 8189080 for arrangements. Good luck to the lucky buyer and offer will be until February next year. No buyer by then, the car will stay with me.
